
Create a Queue
A queue is a named waiting list at your location. Customers join a specific queue. You can run separate queues at the same time for different services.
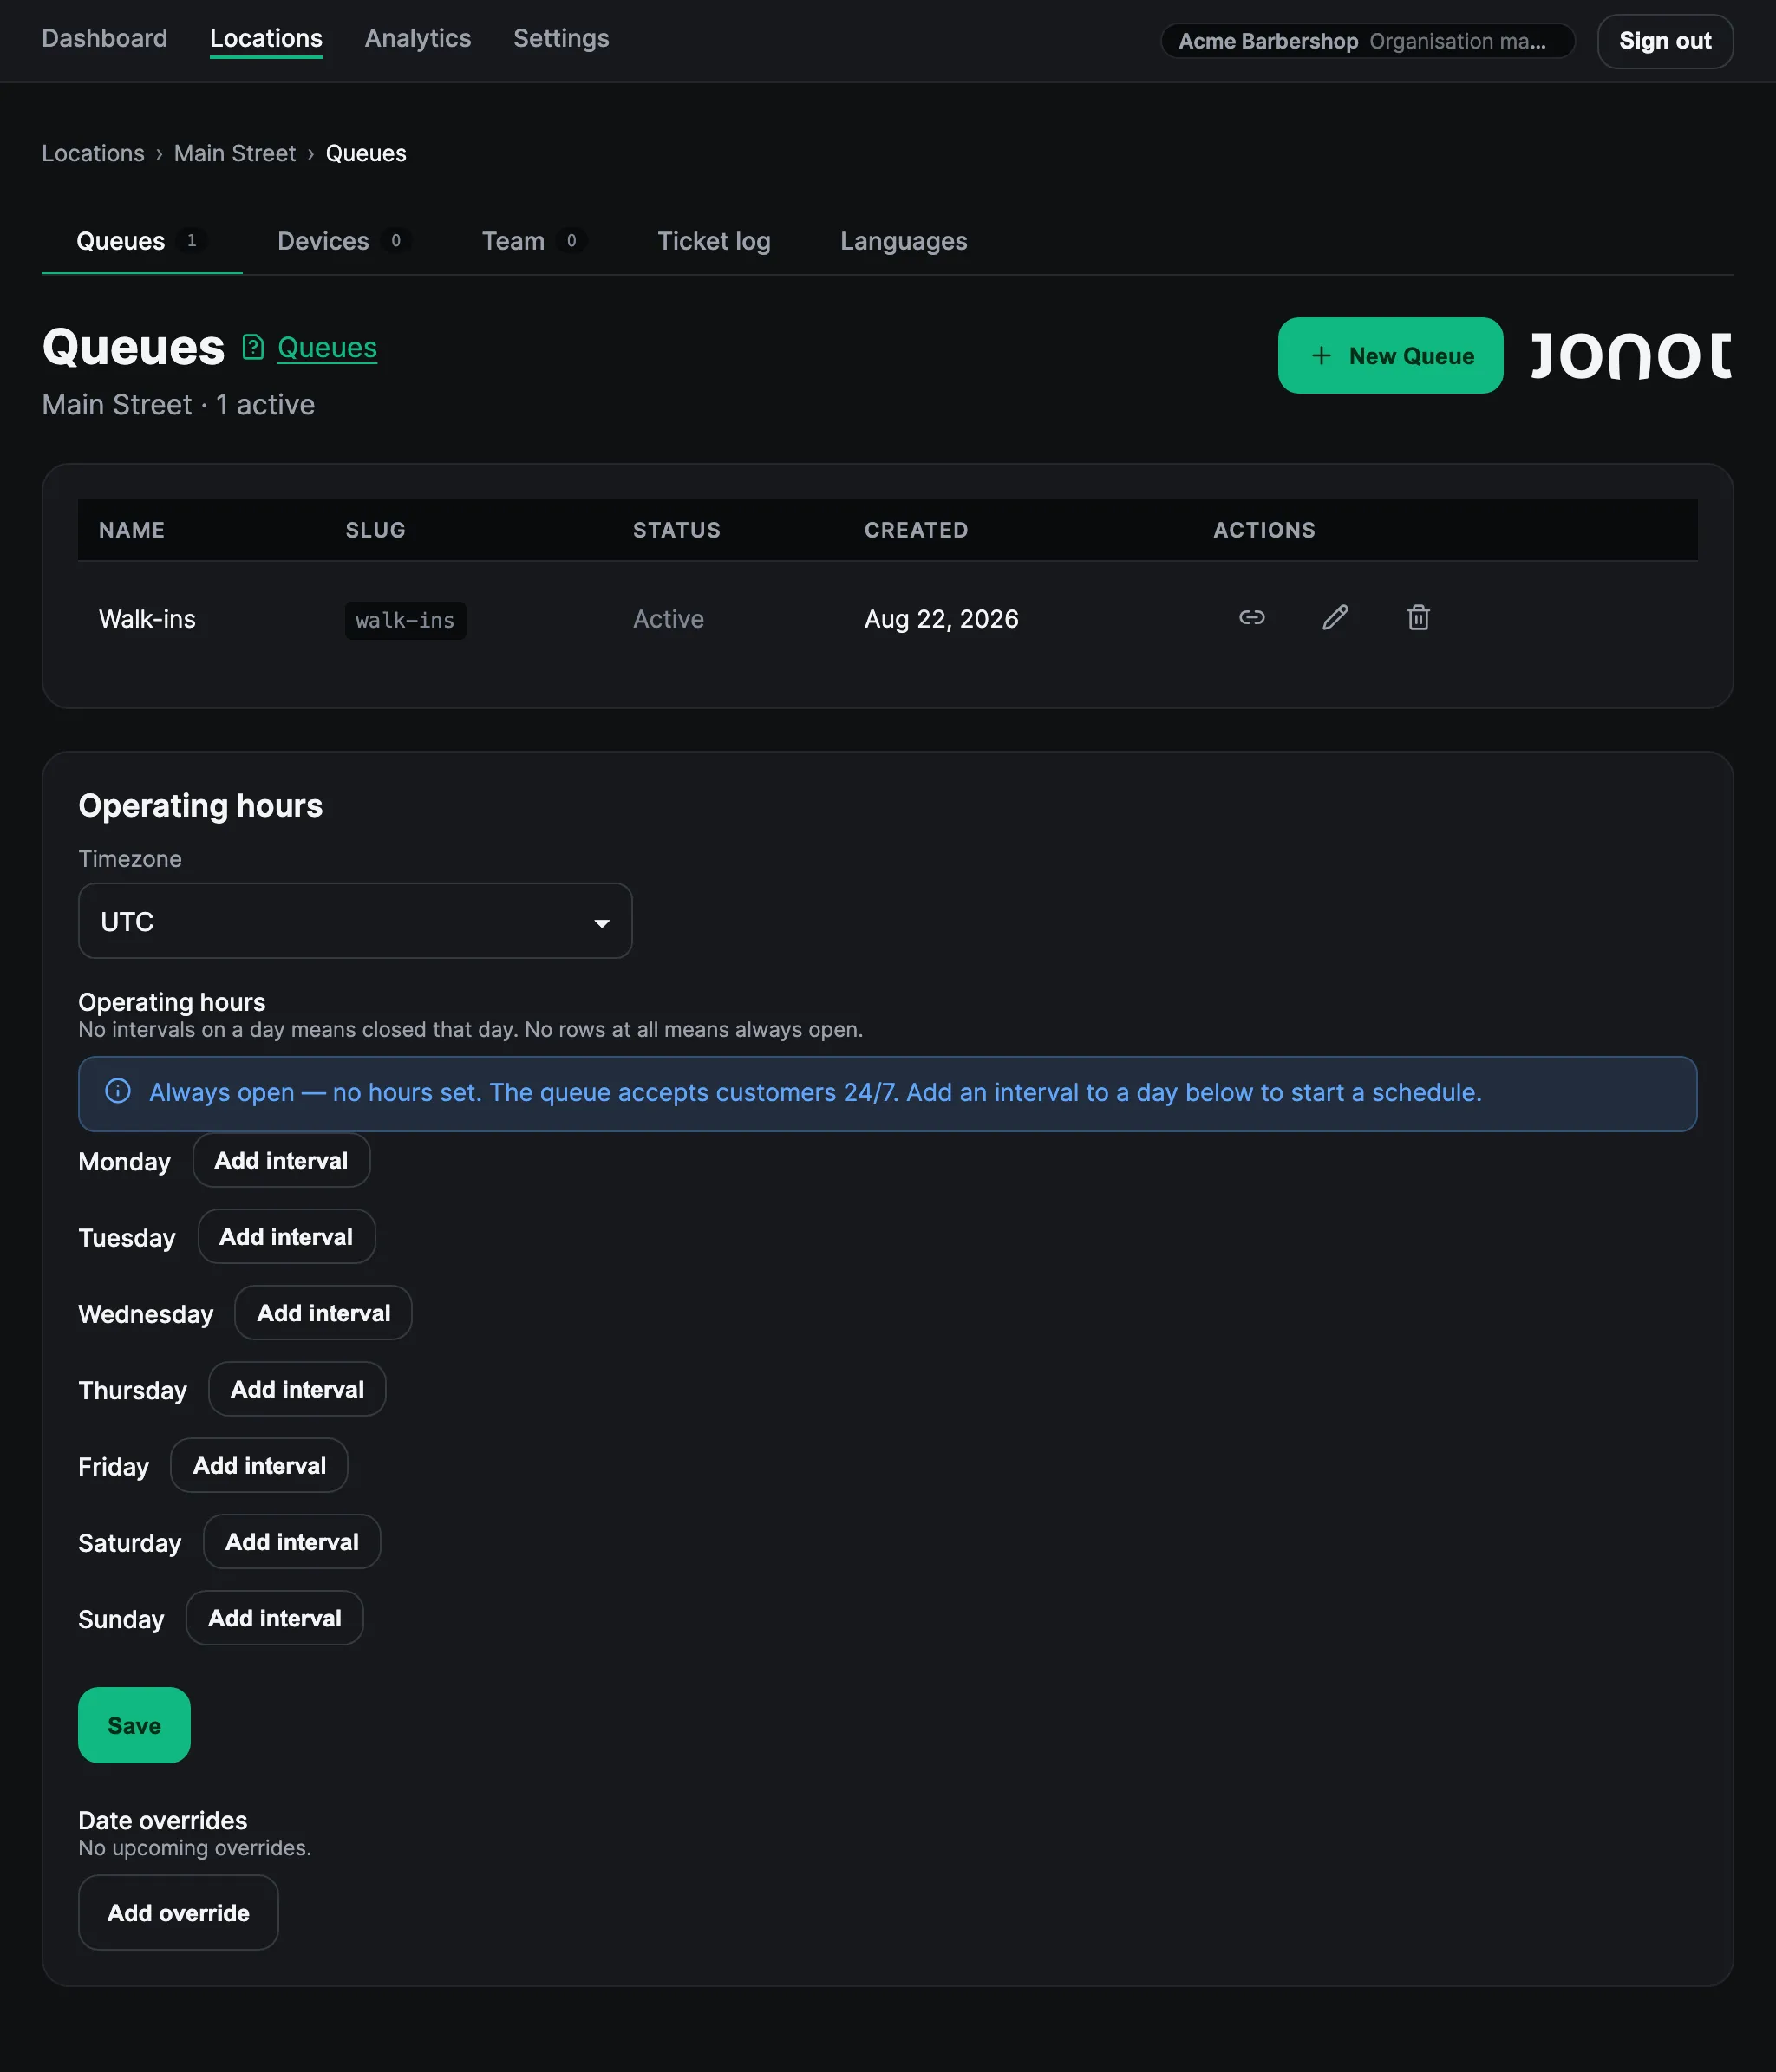
Create a queue
Section titled “Create a queue”- Open your location in admin.
- Go to the Queues tab.
- Click New Queue.
- Give the queue a name, such as “Walk-ins”, “Appointments”, or “Returns”. Customers see this name when they join and on the display screen.
- A URL slug is generated automatically from the name. The slug becomes part of the customer join URL.
- Click Save.
Multiple queues per location
Section titled “Multiple queues per location”Your organisation’s plan determines how many queues you can create at a location. See Billing and Plans for plan details. This resource limit is separate from the number of customers waiting in a queue; set the optional capacity cap when you need that limit. For example, a clinic can run “General Consultation” and “Pharmacy Pick-up” at the same time. Each queue has its own:
- Customer join URL (
https://customer.jonot.io/{org}/{location}/{queue}/) - Independent waiting list
- Device assignment: a kiosk serves one queue, a desk serves one to five queues, and a display shows one assigned queue or a multi-queue board of up to five assigned queues
After creating a queue
Section titled “After creating a queue”Your queue is ready but does not have customers yet. Next, pair the devices. Start with the kiosk that customers use to join.